My Top 5 Websites for Preparedness and Homesteading

I’m always researching and trying to find new ways to become more prepared and more equipped to be an urban homesteader and just like most people nowadays I like to do much of my research on the internet.  While I enjoy reading books and magazines to gain knowledge, I also like to read about other people’s experiences and lessons learned.  One of the best ways to do this is by browsing discussion forums and Facebook groups.

The list I’ve compiled below consists of my 5 favorite websites (not all are discussion forums) that I frequently visit get information about homesteading, preparedness, guns, personal finance, etc.  On most of these sites I’m just a “lurker” I don’t really post much myself, I just read through what other people are posting and see what kind of problems they have and questions they are asking.


http://www.homesteadingtoday.com

1. The forums at www.homesteadingtoday.com are probably my #1 source of information regarding homesteading topics.  They have a number of sub forums that range from general homesteading, a large number of animal specific topics (rabbits, chickens, goats, etc.), sewing, plant propagation, survival and a lot more.  They literally cover homesteading from A-Z.

It is one of the friendliest and most helpful places you can go on the internet to ask questions.  Once you create an account on the page you have the ability to search through the forums for specific topics, and trust me, you can spend hours browsing through the information.

http://www.ar15.com

2.  Just like many preparedness minded individuals, I believe that the right to own firearms is one of the most important, yet threatened rights that we as Americans have.  I own guns for a few reasons:

  1. I like to shoot – recreationally and for hunting
  2. They are an important part of my security measures for protecting myself and my family
  3. Guns CAN be looked at as an investment.  Most nice firearms do not go down in value.

www.ar15.com is mainly about AR15’s (big shock, I know) but they also have a ton of sub forums about other guns, shooting events, ammunition reloading, survival topics and many general forums covering everything from fitness to investing.  One of my favorite areas of the site is the “Equipment Exchange”. This is an area that gives people a platform to sell just about anything, not just gun related stuff.  Anytime I have any gun or survival related items this is my go to because of the massive amount of members that are active on the site.

http://www.daveramsey.com

3.  Financial independence and becoming debt free is a subject that my family and I have devoted ourselves to over the last few years.  Without the teachings of financial expert Dave Ramsey, we would not have had the drive to tackle our car loans and consumer debt with the focused intensity that we did.  Even though all of our debt, with the exception of our mortgage is gone, I still visit www.daveramsey.com to browse his bookstore, read testimonials and articles and listen to his podcasts.

He also has a list of mortgage companies, financial advisors, insurance companies and other businesses that he endorses.  His teaching has helped millions of people change their lives by becoming debt free.

http://www.craigslist.org

4.  As I’ve mentioned in some of my previous blog posts, I like to buy “stuff” to resell for a profit.  www.craigslist.org is where I find most of the goods to support this habit.  Not only is it a good place to find things to resell, it’s an amazing place to buy items to use around the homestead.

Once you go there, find the state you live in then find the closest city to you.   The site is divided up into categories of goods such as sporting goods, books, cars, tools, toys, etc.  I’ve bought lawnmowers, tools, hunting equipment, coffee makers, books, furniture – just about anything you can think of is being sold on there at any time.

Even if you don’t need to stock up your garden shed, you might have a bunch of extra stuff that you want to get rid of.  Craigslist is very user friendly for sellers.  It only takes a few minutes to create an account and you are ready to sell.

http://www.facebook.com

5.  Facebook is one of the most versatile social media platforms available today.  The two main things I use www.facebook.com for are to:

  1. Learn from other people’s experiences, much like I do on forums
  2. Buy and sell goods

From your personal account you can search for “groups” of just about any interest you might have.  The majority of groups that I like are centered around homesteading.  Some of my favorites are:

  1. Regenerative Agriculture
  2. Halfway Homesteading
  3. Squarefoot Homesteaders
  4. Day by Day Becoming self sufficient

Many of these groups have lots of people posting throughout the day so you could spend hours just reading and learning but if you are pressed for time, most of the pages are searchable – you can just type in keywords of what you are looking for and find posts just related to what you want to read.

Also, most towns or communities have garage sale pages that people use to list stuff for sale.  Once you request access to the groups you can browse for bargains or post stuff of your own for sale.  In many ways these pages are easier to use than Craigslist.  One big drawback is they don’t have categories for the listings like Craigslist does, everything is listed together on the main page.  However, they usually have a search function so you can weed through the stuff you aren’t interested in.

Conclusion

With all the information out there on the internet it is easy to spend too much time researching and not enough time doing stuff.  So, just like with everything else, it’s important to not overthink things.  Gather some information then just go do it!  Remember though, learning from other’s experiences is important, but their situation might be completely different from yours, what works for them might not work for you.

Flipping Items on Craigslist/Ebay/Facebook Groups for Extra Income

In keeping with the theme of financial preparedness I would like to share some of my tips for buying and reselling items to make a little extra income.  For most of my life I’ve been intrigued by the thrill of buying something for a low price and selling it for a profit.  As a kid I had a number of side hustles I did to “enhance” my allowance money.  I used to by baseball card packs and sort out the rookies and other valuable cards and resell them for more than the whole pack cost to begin with.   In the 3rd grade two friends and I started a “trade box”.  We would buy packs of pens, pencils, posters (really anything we thought we could make money on) and sell them individually to other students.  That first year we made $24 before we got shutdown.  Back then the amounts were small but it triggered an entrepreneurial spirit inside of me that still gets me fired up today.

As I’ve gotten older, I’ve branched out from baseball cards and school supplies to just about anything I think is a good deal and my target market has expanded from 8 year olds to just about anyone who is interested.  Some of my better finds include Hewlett Packard toner cartridges at a Goodwill store that i bought for $40 and sold for over $600 to a vintage shortwave radio that I bought for $5 at an estate sale and sold for $250.  Neither item by itself will pay for a mortgage but they were both certainly good for some extra spending money.

Where to Buy Stuff

My main source of items for resell come from Craigslist and local Facebook selling pages.  I don’t really have any particular items that I specialize in, I just look for unique and underpriced things that I know will bring more on EBay or a website that is dedicated to that particular type of item (hunting forums, gun forums, etc).  Some of my favorite items to resell are military surplus items, ammunition reloading equipment and hunting stuff.

Each day I average about an hour browsing Craigslist and my local Facebook groups looking for things to buy.  I generally start off with a couple of searches for “reloading” or  “military” then narrow my searches down for more specific items in each of those areas, for example, instead of “reloading” I might search for a few popular brands of reloading presses, (Dillon, RCBS, MEC) or some specific military terminology like “multicam” or “ocp” or “rucksack”.  If I don’t find anything that catches my eye, I will just move on and browse all of the for sale items.  If I’m short on time while I’m searching craigslist I will usually enter a maximum price that I’m willing to spend, this cuts down on all the things that are overpriced or out of my budget.

Determining How Much to Pay

If I see something interesting but don’t know anything about it, I’ll do some quick research on EBay or search for other similar items on Craigslist to see what everyone else is asking to determine if it’s worth my time to buy or not.  I usually try to double my money on items that are priced under $50.  For example, if I see some military uniforms that I know will bring $150 on EBay, I will try to get them for under $75.  On higher priced things I’m okay paying $150 for something that I know will bring $200 or so.

Once I find an item I’m interested in I have 2 approaches that I take depending on the price.  If it’s already priced low and I know I can make money on it, I will contact the buyer by whatever means they have put in their ad and ask when they are available for me to come buy it.  I’ve found that if I make it clear that I’m ready to buy without any haggling and I have cash in hand they will be more willing to meet up and make the sale sooner.

If the price is just so-so, or sort of high I will still contact the seller, preferably by phone, and let them know that I’m interested but would like to discuss the price.  I think many sellers are turned off by emails or texts asking to lower the price because it can be so informal, a phone call lets me be much more personable.  I also like to do all my price negotiations before I go look at the item.  This way I’m not wasting my time if I show up to look and they turn down my offer.

Where to Flip the Merchandise

Where I resell the items depend on the type of items I buy.  Most big, bulky items like lawnmowers, weed eaters or large appliances I tend to resell on Craigslist or the local Facebook groups.  Sometimes, all I have to do is some simple cleaning or light repairs and it’s ready to sell again.  I’ve found that good pictures and a well written description will help sell stuff a lot quicker than dark, out of focus pictures and no, or minimal information in the description.  I always try to describe the item as accurately and specifically as possible.  For example, if I’m selling a riding lawnmower I’ll mention how big the cutting deck is, how many horsepower the motor is, how many hours are on it, what condition the tires are in, basically anything that someone might have a question about.

For smaller, higher value items it’s hard to beat EBay for getting the best price.  Many people are scared of EBay because they think they will get scammed or get a negative feedback or they don’t want to pay the “high” seller fees.  I have personally never had a bad experience selling on EBay and I’ve got close to 800 positive feedbacks.  I’m not saying that it can’t happen, but I just follow the same rules that I mentioned earlier about good pictures and accurate, honest descriptions.

As far as the seller fees, I’m more than willing to pay 10% of the selling price to get worldwide marketing for my goods.  Recently I bought a like new military issue, multicam patterned backpack for $50 on Craigslist and sold it in 3 days on EBay for $200.  After all fees and shipping costs, I made a profit of $110.  If I had tried to sell it locally I might have been able to get $75 for it.

Just like with everything else we do in life, you have to take action and do something – get on Craigslist tonight and browse for items you are familiar with and try to find a good deal.  Take a few hours on a Saturday morning and go to your local thrift shop or hit up some garage sales.  I’m willing to bet that you can find something to resell for a profit.  Don’t be scared to negotiate prices, you never know if you don’t ask.

Budgeting 101

This post is a follow up to my previous post about my 4 big areas to focus on when it comes to achieving freedom.  I feel that being debt free is the biggest thing you can do to give yourself the most freedom possible.  Owing other people money can be one of the biggest sources of stress and unhappiness in life and can have a big impact on everything that you do.

Our journey to pay off debt started many years ago and was extremely bumpy and had many false starts – we would get started and make a little headway but an “emergency” would always come up that would cause us to tap into the emergency fund and we would lose focus and usually end up falling completely falling off of our plan.  Most of these “emergencies” were not really emergencies and could have been planned for if we had been more aware and more focused.  Remember, Christmas and birthdays happen at the same time every single year!!

Once we finally became serious about paying off debt the biggest and most important thing that we did was to start living off of a budget.

The first time you sit down to do a budget it can be very intimidating and it can be easy to stop before you even start.  First and foremost, you and your spouse both have to be on board with budgeting.  If you can’t agree that you even need a budget, then you will never agree on what the budget should look like.  Even if you are single, it is vital that you understand the need to be on a budget.  Even if you feel that you are good with money go do some research – read some of the testimonials at www.daveramsey.com about how important a budget is and how it has changed the lives of people who are doing his total money makeover.  You have to convince yourself that it is important before you start, or you will never take it seriously!!!!

Next, do the budget before the paycheck is cashed or deposited.  If you wait until the next day or the next week, it is so easy to go to wal-mart or somewhere and spend some money that didn’t get included in the plan.  All of your money needs to be part of the budget!

When you do finally set down to write out the budget (together if you are married) make sure you plan for every possible thing that you will be spending money on during the pay period.  Even if its $4 for a Starbucks coffee or a few dollars for a mid-afternoon snack at work.  You’ll be surprised at how much money is left over at the end.  This is also a good exercise to look for ways that you can make lifestyle changes later on.

Once all upcoming expenses are accounted for, make a plan for the leftover money.  If you already have a small emergency fund in place (Dave Ramsey recommends a baby emergency fund of $1000) the extra money should go towards the debt with the smallest dollar amount (not the highest interest rate loan).  By paying towards the smallest dollar amount first it will let you gain a little momentum when you see the small debts start falling off the list.  Even if you are a math nerd and it hurts you to not pay extra on a high interest rate credit card just trust me, you might sacrifice a few dollars in interest payments early on, but the exhilaration of paying off a debt truly makes up for it.  If you were so great at math you wouldn’t be in debt in the first place!

Next, assign a role to EVERY SINGLE DOLLAR!!! Your budget should have a balance of 0!! If you accurately account for every expense on the budget it will honestly feel like you’ve gotten a raise, most of us don’t realize how much we spend on miscellaneous impulse purchases throughout the month.  If you are doing a debt snowball plan, then this leftover money should “mostly” go towards the first debt on the list (my next tip will cover some of the exceptions to this rule).  Do not wait to pay this extra towards the debt, do it as soon as you get paid, this eliminates to chance that you might spend it on some frivolous purchase that does not help you reach your financial goals.

Finally, don’t forget to include a category for spending money or entertainment.  Just because you are working hard to pay off debt doesn’t mean you can’t have a little fun.  This can be a little tricky sometimes, if you are really focused and serious you might feel a little guilty about having some “fun” or “play around” money.  I’ve found that if you don’t allocate a little bit towards fun money you will get disgruntled eventually and slowly lose your focus and possibly fall off the wagon completely.

Of course you have to balance this out, don’t set aside an unreasonable amount for movies or comic books when you have a mountain of debt to pay off.  Continue to be frugal, your personal amount might be $50 a month, while someone with less debt or a higher income might set aside $100 a month.  Only you (and your spouse, if applicable) can determine what will work.

These tips are just a primer to get you started.  A budget is very personal, once you get started you will continue to tweak it to your unique situation and find what works for you.  There is no one size fits all when it comes to budgeting.  To this day we use a simple notebook and have one page for each pay period.  Everything is hand written and easily editable.  Even though we’ve been doing this for a few years we still have to make changes and corrections.  The most important step in budgeting is to just do something – just start and don’t get discouraged.  Your first few months WILL be painful and will not work right.  Just stick with it.

Feel free to add any tips or recommendations that you might have!!!

Four Areas of Personal Freedom and Self Sufficiency

While everyone has their own ideas on what constitutes freedom and self-sufficiency, these are just 4 of the areas that I feel are important.  Many times we don’t know where to start on our journey to preparedness or we hold back for a number of reasons, such as not enough time, not enough money or we are trying to do more research on certain things.  All the tips listed below are just starting points and can be broken up into individual steps as you have the time and money.   Just remember, all journeys start with a single step.

Finances

One of the biggest and most important steps you can take towards self-sufficiency is becoming debt free.  Debt is like a cancer that invades every area of your life. The stress from being in debt and living paycheck to paycheck can affect how you perform at work, it can affect your relationships and your health.  When we made our final car payment it felt like a huge weight had been lifted from our shoulders and it also felt like we got a raise in income.

Our plan of choice was Dave Ramsey’s debt snowball program – a plan that involves listing all of your debts from smallest amount to largest amount and paying the minimum payment on all but the smallest amount.  All the money you have left over in your budget goes to the debt with the smallest dollar amount.

In order to make the most of the debt snowball program you also need to have a budget.  If you don’t have a written budget that you follow, you will never know where all of your money is going.  If you don’t know where your money is going, then you won’t know how much money you are wasting.

A few tips for setting up a budget include:

  1. Both, husband and wife, need to do the budget together and agree on the plan
  2. Do the budget before the paycheck is cashed or deposited
  3. Be specific and include everything that you are spending money on
  4. Spend every dollar on paper.  Your budget “balance” should be $0 when you are done
  5. Don’t forget to include a category for spending money or entertainment

Raise your own food

No matter where you live you can find room for a small garden or at least a few pots for vegetables.  If you live in a house with a yard I’m willing to bet you have room for at least one 4’x4’ raised garden bed.

Some of the easiest garden plants to grow are:

  1. Lettuce
  2. Spinach
  3. Tomatoes
  4. Radishes
  5. Carrots

These 5 simple, easy to grow vegetables might not replace your entire pantry but they can supplement meals with a healthy salad every now and then.

In addition to gardening another great way to provide food for your family is by raising animals.  Even if you live in a subdivision with a fairly small yard like we do it is possible to raise chickens, quail and rabbits on a small scale.

Security

When most people think about security they think about guns and ammo.  While these are an important aspect of home security there are many more areas that are just as important.

  1. Security cameras
  2. Door locks
  3. Outside lighting
  4. Emergency plans (tornado, home invasion, blackout, bugout, etc)

Fitness

If you don’t take care of your body then all the stuff I’ve mentioned up to this point won’t really matter.  No matter what kind of shape you are in now, it’s never too late to start a physical fitness routine.  The most important thing is to just go do something.

  1. Go for a walk – bring your family along and turn it into an evening routine that you do every day after eating supper
  2. Get rid of your riding lawnmower and start push mowing your lawn
  3. Take your dog for a walk
  4. Download one of the many “Couch to 5K” running plans to your smartphone and start jogging
  5. Buy a cheap weigh set off of craigslist and start lifting in your garage

I hope everyone finds at least a few of these tips helpful and can use this as a primer to get started on a path towards personal freedom and liberty.  Check back in the coming days for more specific and detailed posts on each one of these areas.

If you have any questions for me or any tips you’d like to add please comment on this post.

How to Build a Quail Hoop House

About one year ago, before I found out that I was going to go on a 6 month trip for the Air Force, I had a small pen in the backyard and raised about 20 Coturnix quail.  I got them from a guy on Craigslist who had hatched them out and didn’t have room to keep them.  We had them for about 12 weeks before I butchered them, long enough for them to start laying a crazy amount of eggs – we had 14 hens and I swear there were days that we got 15 eggs. They laid better than any chicken that I’ve ever owned.  The plan was to keep the 20 for breeding stock and hatch the eggs in an incubator and raise the babies for our consumption and sell the ones we didn’t eat.  Once I found out that I’d be leaving for 6 months I didn’t want to leave my wife with 20 quail to bother with while she was busy with our three young daughters so I butchered all of the quail and now I’m ready to start over raising quail.

In addition to butchering all of the quail, I also sold the pen that I raised them in.  So….it’s time to build another pen, this time a little bigger and one that I can get in and out of easier to check for eggs and to catch the birds.  My last pen was a mobile “tractor” that I pulled around the yard and I would move it when they started to wear down the grass, it worked well enough but this time I’m going with a stationary pen just to make things a little easier.

After looking at 1000’s of coop designs on the internet I decided to go with the hoop house style coop for a couple of reasons.

  1. Cheaper to make (remember, we are trying to become debt free and do things as economically as possible)
  2. Easier to build. I do enjoy building things but I consider myself something of a “rough” carpenter. Most things I build would never win any beauty contests but they are functional and will do the job I built them for.
A few of the materials I used.

A few of the materials I used.

The hoop house design is pretty straightforward, all you have to do is fashion some sort of material into hoops and cover it with chicken wire.  The following is my list of materials:

  1. Two, 16 foot cattle panels –I found them used on Craigslist for $5 apiec.e.
  2. Four, eight foot 2”x8” treated boards – about $7 apiece at Lowes
  3. Chicken wire – I had about half the wire I needed just laying around, leftover from other projects but I did buy one roll of 2’x 50’ chicken wire from Lowes for $23
  4. Welded wire – I used about 25 feet of 3’ tall welded wire (with 2”x4” holes) for stability on the front and back to tie the chicken wire to.
  5. 2”x4”’s – I used approximately 50 feet of 2’x4’s and they all came from pieces that I had laying around and stuff I’d scavenged from pallets.
  6. 2”x2”s – I needed about 20 feet of these for the door frame – approximately $3.50 apiece – $10 total
  7. Plywood – I bought one full sheet of 3/8” plywood from Lowes for $14
  8. Hardware kit – for the door to the pen itself and for the quail house inside the big pen. – This kit was $7
  9. Nails/screws – all were leftovers from other projects

The first thing I did was make a square out of the treated 2×8’s and screw them together with 3’ deck screws – this will be the base of the hoop house and what holds the cattle panels in the “hooped” position.

For the base of the pen I just used 3" screws to attach treated 2"x8"s in a squard.

For the base of the pen I just used 3″ screws to attach treated 2″x8″s in a squard.

Once the boards were securely connected in a large 8 foot square, I brought the cattle panels over and put one end in the square against the board and pushed the other end so the panel formed an arch.  Then I did the same thing with the other panel, it was a tight fit with both panel in so I had trim out one of the squares on the front and back bottom corners of each panel and slide them torwards the front/back of the wooden base so the panels hang over the ends by about 6 inches or so.  By trimming out the bottom corners, I was able to butt both panels up flush with each other and zip tie them together.  As soon as I got the panels secured to each other I used fence staples and connected the bottom rod on the panels to the 2×8’s so they wouldn’t pull out.   One of the panels had some pretty severe bends in it from it’s previous owners so it was a little out of round.   This was fixed for the most part though once I started putting the wood braces in place.

Here the panels are "hooped" up but not attached to each other or the base

Here the panels are “hooped” up but not attached to each other or the base

Next I framed up the front and back to have something to support the chicken wire that I was going to use on the outside to keep the birds in.  For the front, I cut two 2×4’s to run from the base to the top, spaced 2’ apart to create a frame for a door and also attached more supports from the door frame to the sides of the hoop spaced about 2 feet apart.  The back is similar to the front without the open space for the door.

I used 2"x4"s and pallet boards to support the hoops and to have something to attach the wire to.

I used 2″x4″s and pallet boards to support the hoops and to have something to attach the wire to.

Instead of just attaching chicken wire straight to the boards on the front and back I decided to use 2”x4” welded wire fencing to provide some extra stability and hopefully more protection from predators.  Once I was done attaching the welded wire the hoophouse was ready to be covered in chicken wire.

For the front and back I just molded the wire to the shape of the hoop (leaving the space for the door uncovered) and trimmed the excess.  To attach the chicken wire to the welded wire, I used a bunch of small zip ties.  I realize that they will have to be replaced eventually but it was so much easier than using wire.

When I was done covering the front and back with chicken wire, it was time to cover the top.  Compared to the front/back this was a pretty simple and straightforward operation.  There was no molding and very little cutting, just lay out the right length and zip tie it to the cattle panel.

The door is just a simple frame made from 2”x2” boards and covered with chicken wire.  I bought a hardware kit for gates from Lowes for $7 that had hinges, a screen door spring, a handle and a lock. I mounted the door on the inside of the pen (it opens into the pen) to hopefully make it harder for any birds to escape.

All finished except for a shelter and birds.

All finished except for a shelter and birds.

All that’s left now is to build a small shelter inside the hoop house to help the birds stay warm and dry and to cover the back half of the pen with a tarp to keep the rain and wind off of them.

Once I’ve done all this it will be time to find some more Coturnix quail,  I’ve been scouring Craigslist and some local Facebook animal swap sites but haven’t found any that  are very close by.  If I’m unable to find any I will probably order some eggs and hatch them out.

All in all, this was a fun project and I’m excited to start raising quail in it.  I hope everyone enjoyed this post and if you have any questions/suggestions or comments please post them.

Why I am Blogging

quote-Anish-Kapoor-all-ideas-grow-out-of-other-ideas-21498


As a new blogger I’m always trying to come up with ideas for some great content and ways to make my blog better but I’m not a very creative person.  Since I’m very aware of this shortcoming I have been reading a lot of books about blogging. One of the latest ones was “Your First $1K” by Mike Fishbein and in it he says that in order to become a better writer, you just need to write and publish.  You have to make yourself write something and publish it no matter how you feel about the quality of it.  I’m even struggling with writing this post since I don’t really have any advice to offer or anything of value for my readers.   I also struggled with my “about” page, since I find it very hard to talk about myself and to offer any sort of self-promotion.

Since I can’t think of any earth shattering topics with stellar content to provide you, I’m going to explain why I set up my blog and what I hope to offer. I recently shared a few goals that I have for here at home but they didn’t have anything to do with my blog, they were focused on what I want to accomplish on our little urban homestead.

My main goal is to share our experiences and the trials we go through regarding our pursuit of “freedom”.  By freedom, I simply mean being free from debt, free to choose what food we eat and where that food comes from and free to live our lives the way we want, no matter what is going on in the rest of the world by being prepared for whatever disaster my (or may not) strike.  Even though our ideal situation would be to live on a small farm in a rural area, we are “stuck” here in our subdivision for at least the next three years.  I used to think that we had to wait until we moved out to the country to start becoming better prepared and more self-sufficient, but then I realized that it doesn’t matter where you are, it’s best to take some sort of action to reach your goals now instead of waiting.  There is no perfect time.  Even though the three years (approximately) that we have left before I can retire from the U.S. Air Force will fly by, I plan on making the best of it by creating an urban farming wonderland on our small patch of ground here in the subdivision.

Again, my main goal with this blog is to share my experiences so you can learn from them and hopefully not repeat the same mistakes that I make along the way.  I also want to learn from you – I want to hear your experiences and hear how you’ve reached your preparedness or urban homesteading goals.   I hope that subdivision survival can become a very interactive sight with lots of lateral communication.  I think the best gift we can give each other is the sharing of ideas.

Subdivision Survival Goals for the winter

* Each of one these goals will be developed into a full blog post in the near future, I just wanted to share a few of the important things that we are working towards here in the subdivision

1. Become debt free
I decided to list this goal first since it is the foundation of personal freedom and self-sufficiency in my mind. It will also give us the flexibility to pursue so many more options than we could if we were strapped with debt.
Many years ago we heard about Dave Ramsey and his Total Money Makeover plan and we become completely on board. Or so I thought. We struggled off and on for a long time (8 years) to pay off some credit cards and car loans. We didn’t have the discipline to create a budget and stick with it, or to pay off a car and not go out and buy another one. We’ve been doing much better the last couple of years and no longer have any credit card debt and only have one vehicle payment, which should be gone in the next 4 or 5 months. While we haven’t been following the Dave Ramsey plan completely, we are budgeting and have goals in place for many financial milestones.

2. Start a rabbit operation
My main goal for raising rabbits is to have an extra source of meat to supplement what we buy at the grocery store. In the past, we’ve raised New Zealand and Californian rabbits which are the stereotypical “meat” rabbits, however this time we were given a free, pedigreed buck and doe mini rex pair and we decided to start out with them. My early thoughts on this change of plans is that instead of just a meat operation we will be able to sell some of the little ones for pets and breeding stock.

3. Raise Quail
When it comes to raising quail I hope to achieve three things –
1: Extra meat source
2: Egg source
3: Extra income
Coturnix, or Pharaoh quail are very fast growing, maturing birds that will start laying eggs around 8 weeks and are also large enough to be harvested at the same time. They are easy to take care of and don’t require a huge amount of space so they should be perfect for a backyard homestead environment. I’m currently working on an 8’x8’ cattle panel hoophouse that I hope to use to house 25 – 30 adult quail. With a good mixture of hens/roosters and a couple of incubators I think I can maintain a self sustaining breeding and egg hatching operation.

4. Prepare garden soil
We have six 4’x4’ raised beds filled with a mixture of aged, composted horse manure and store bought soil that we have been trying to raise food from for the past few years with marginal success. I have never really put much effort into figuring out if the soil was good from a scientific standpoint, I just mixed some random “stuff” together and hoped for the best. My goal here is to research what needs to be done to have a successful and productive garden and work to build it up over the winter/early spring.

“Free” Rabbit Hutches – My First Project

Rabbit Hutches
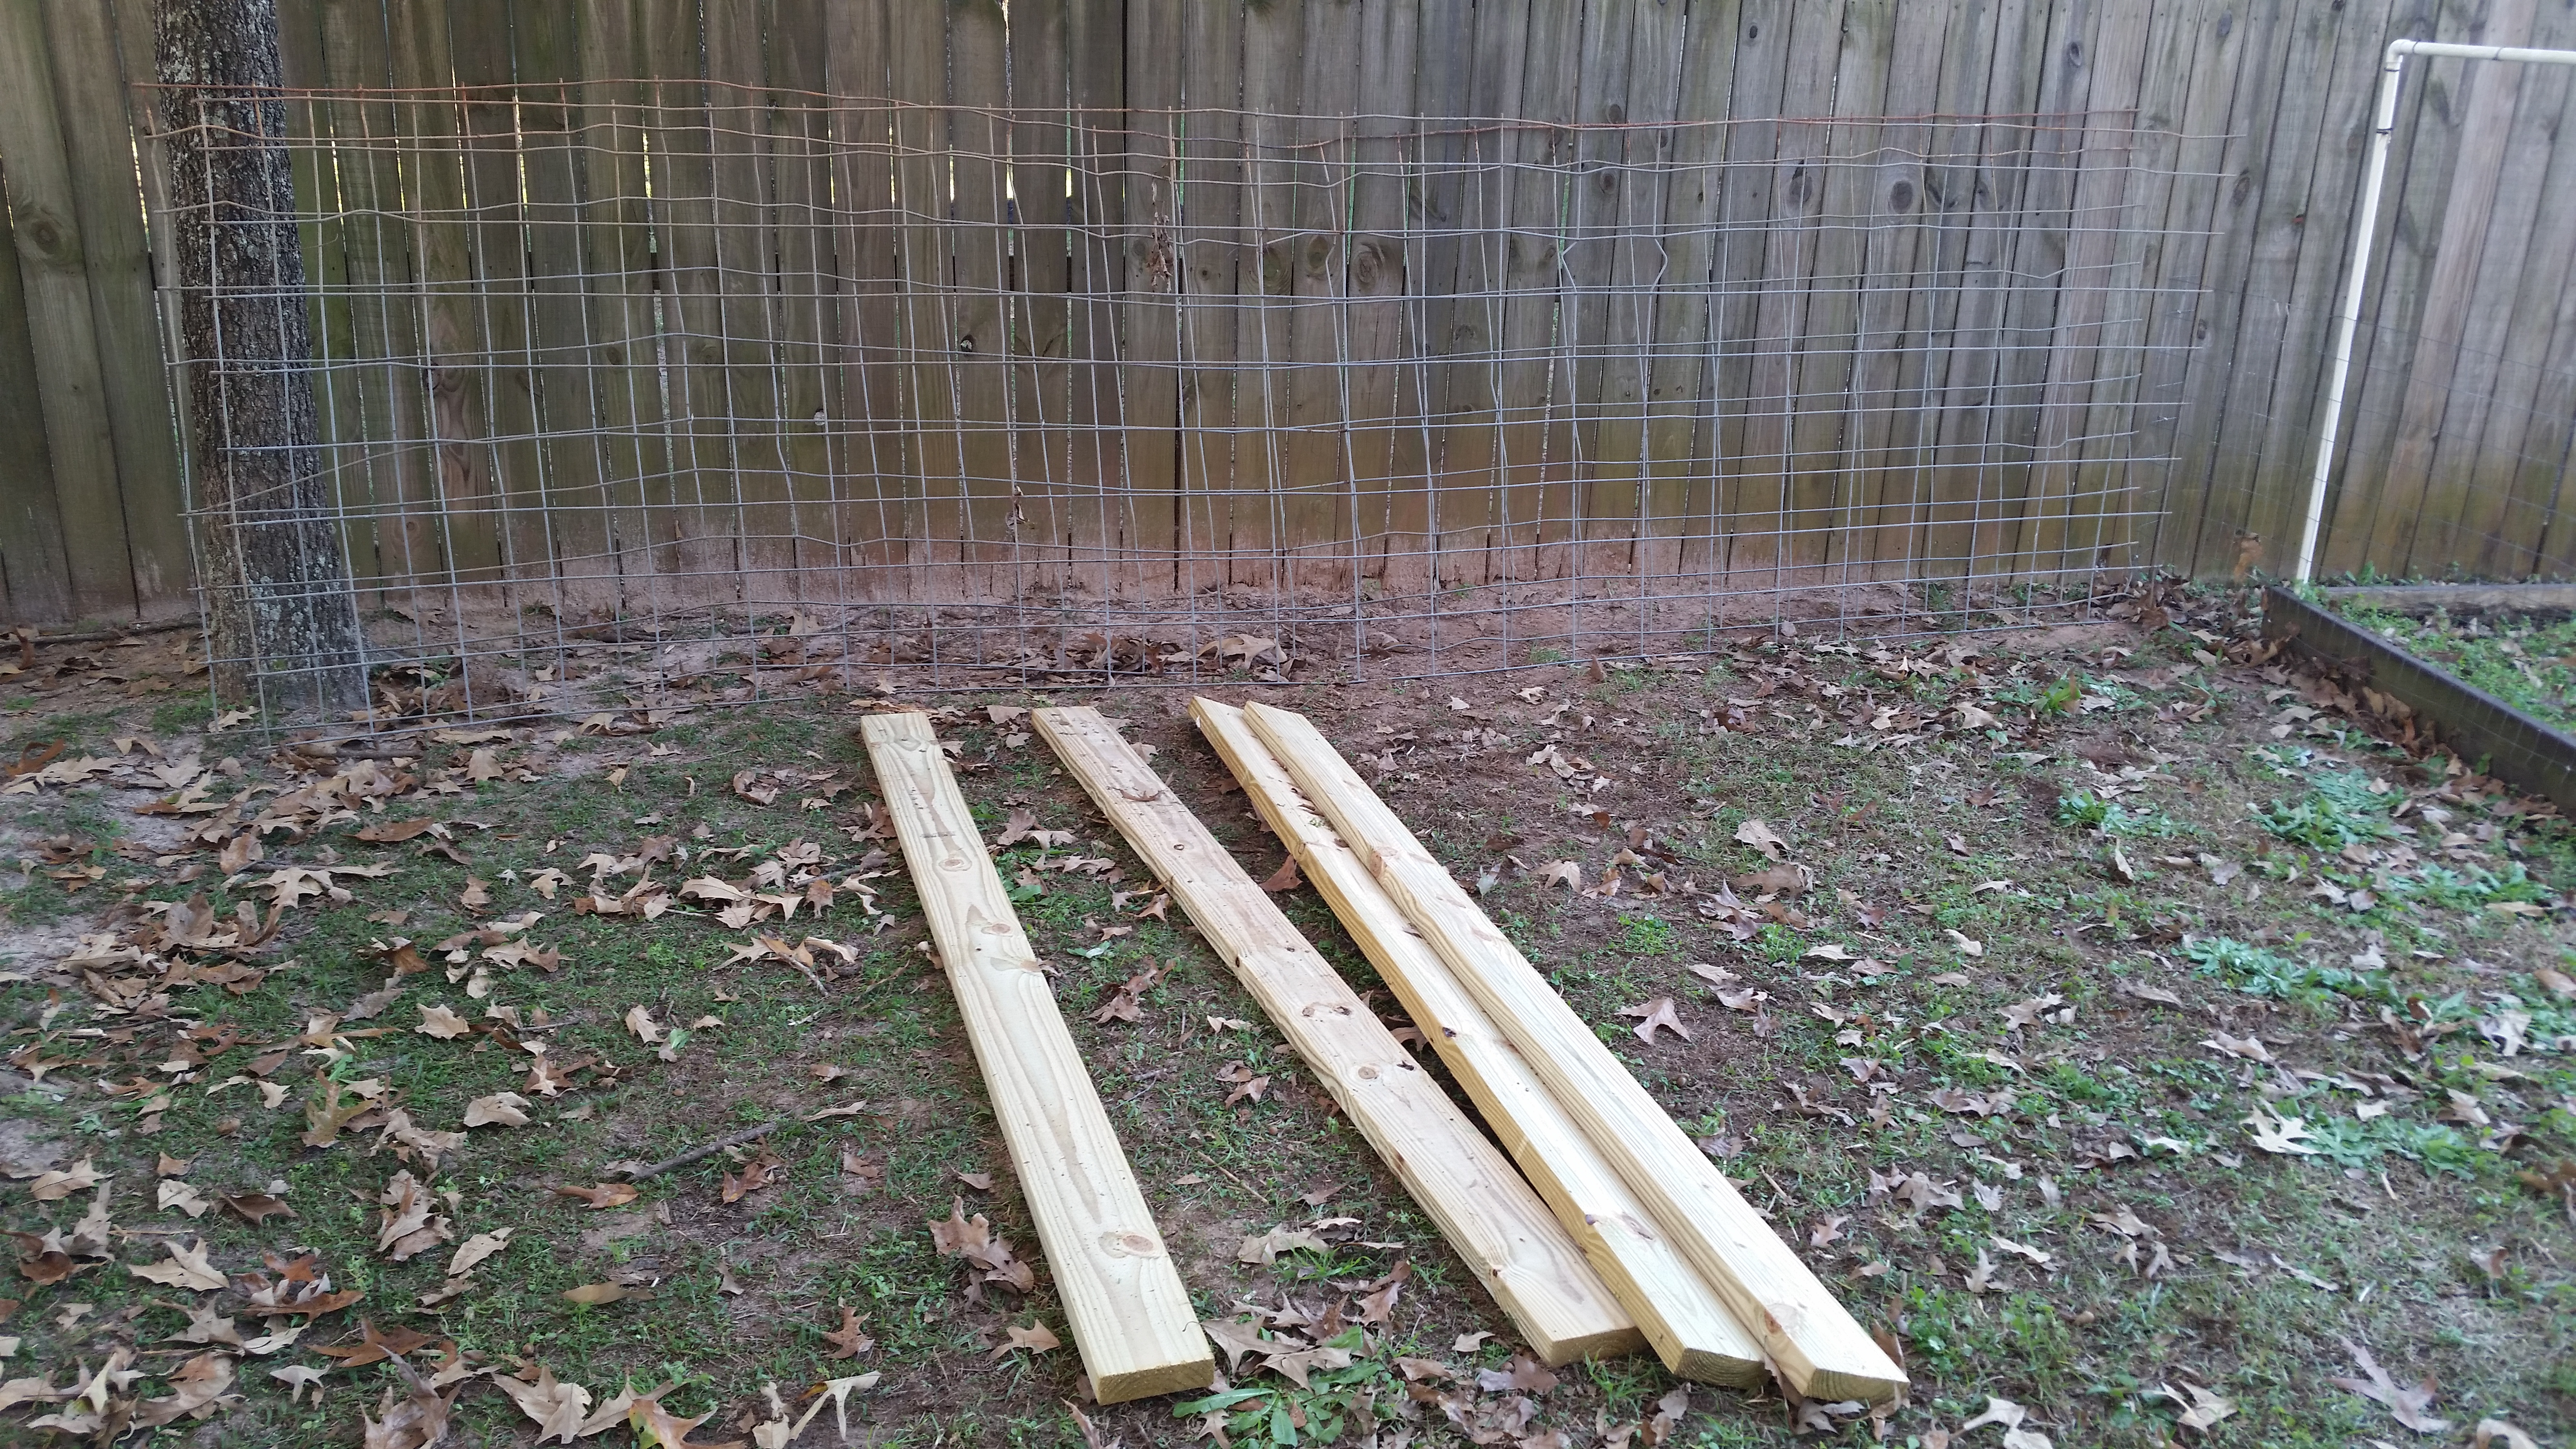
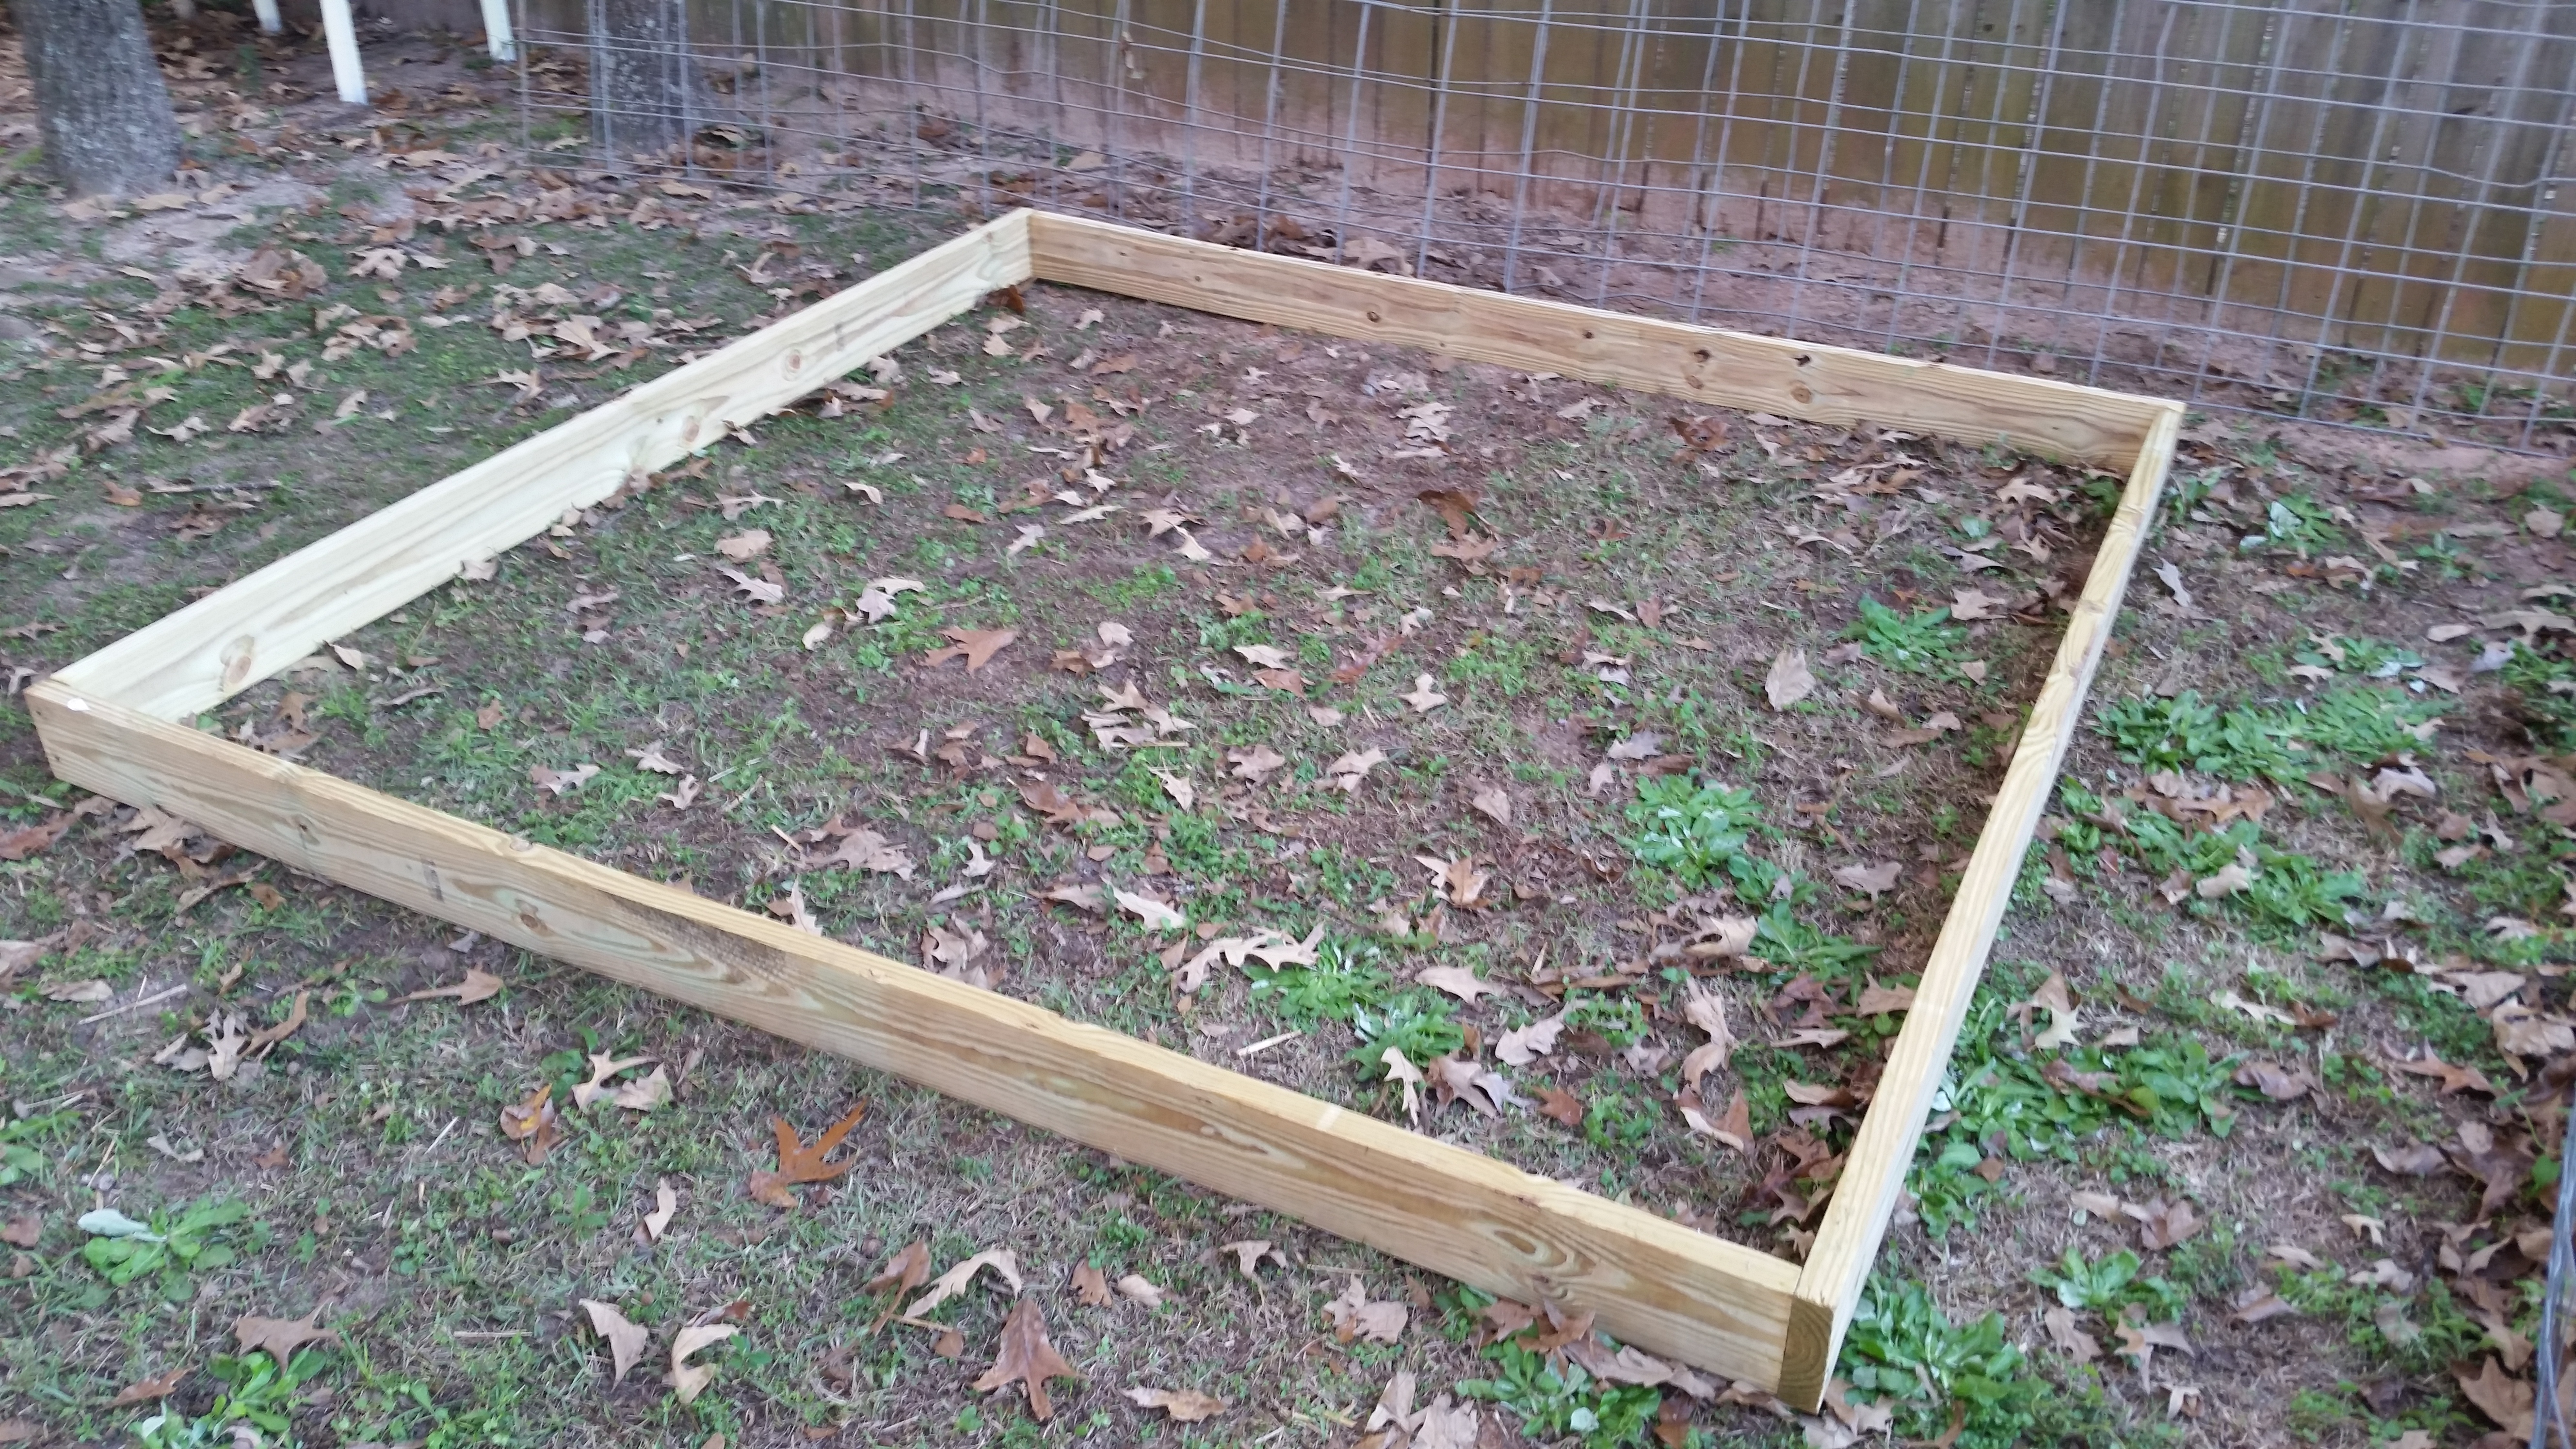
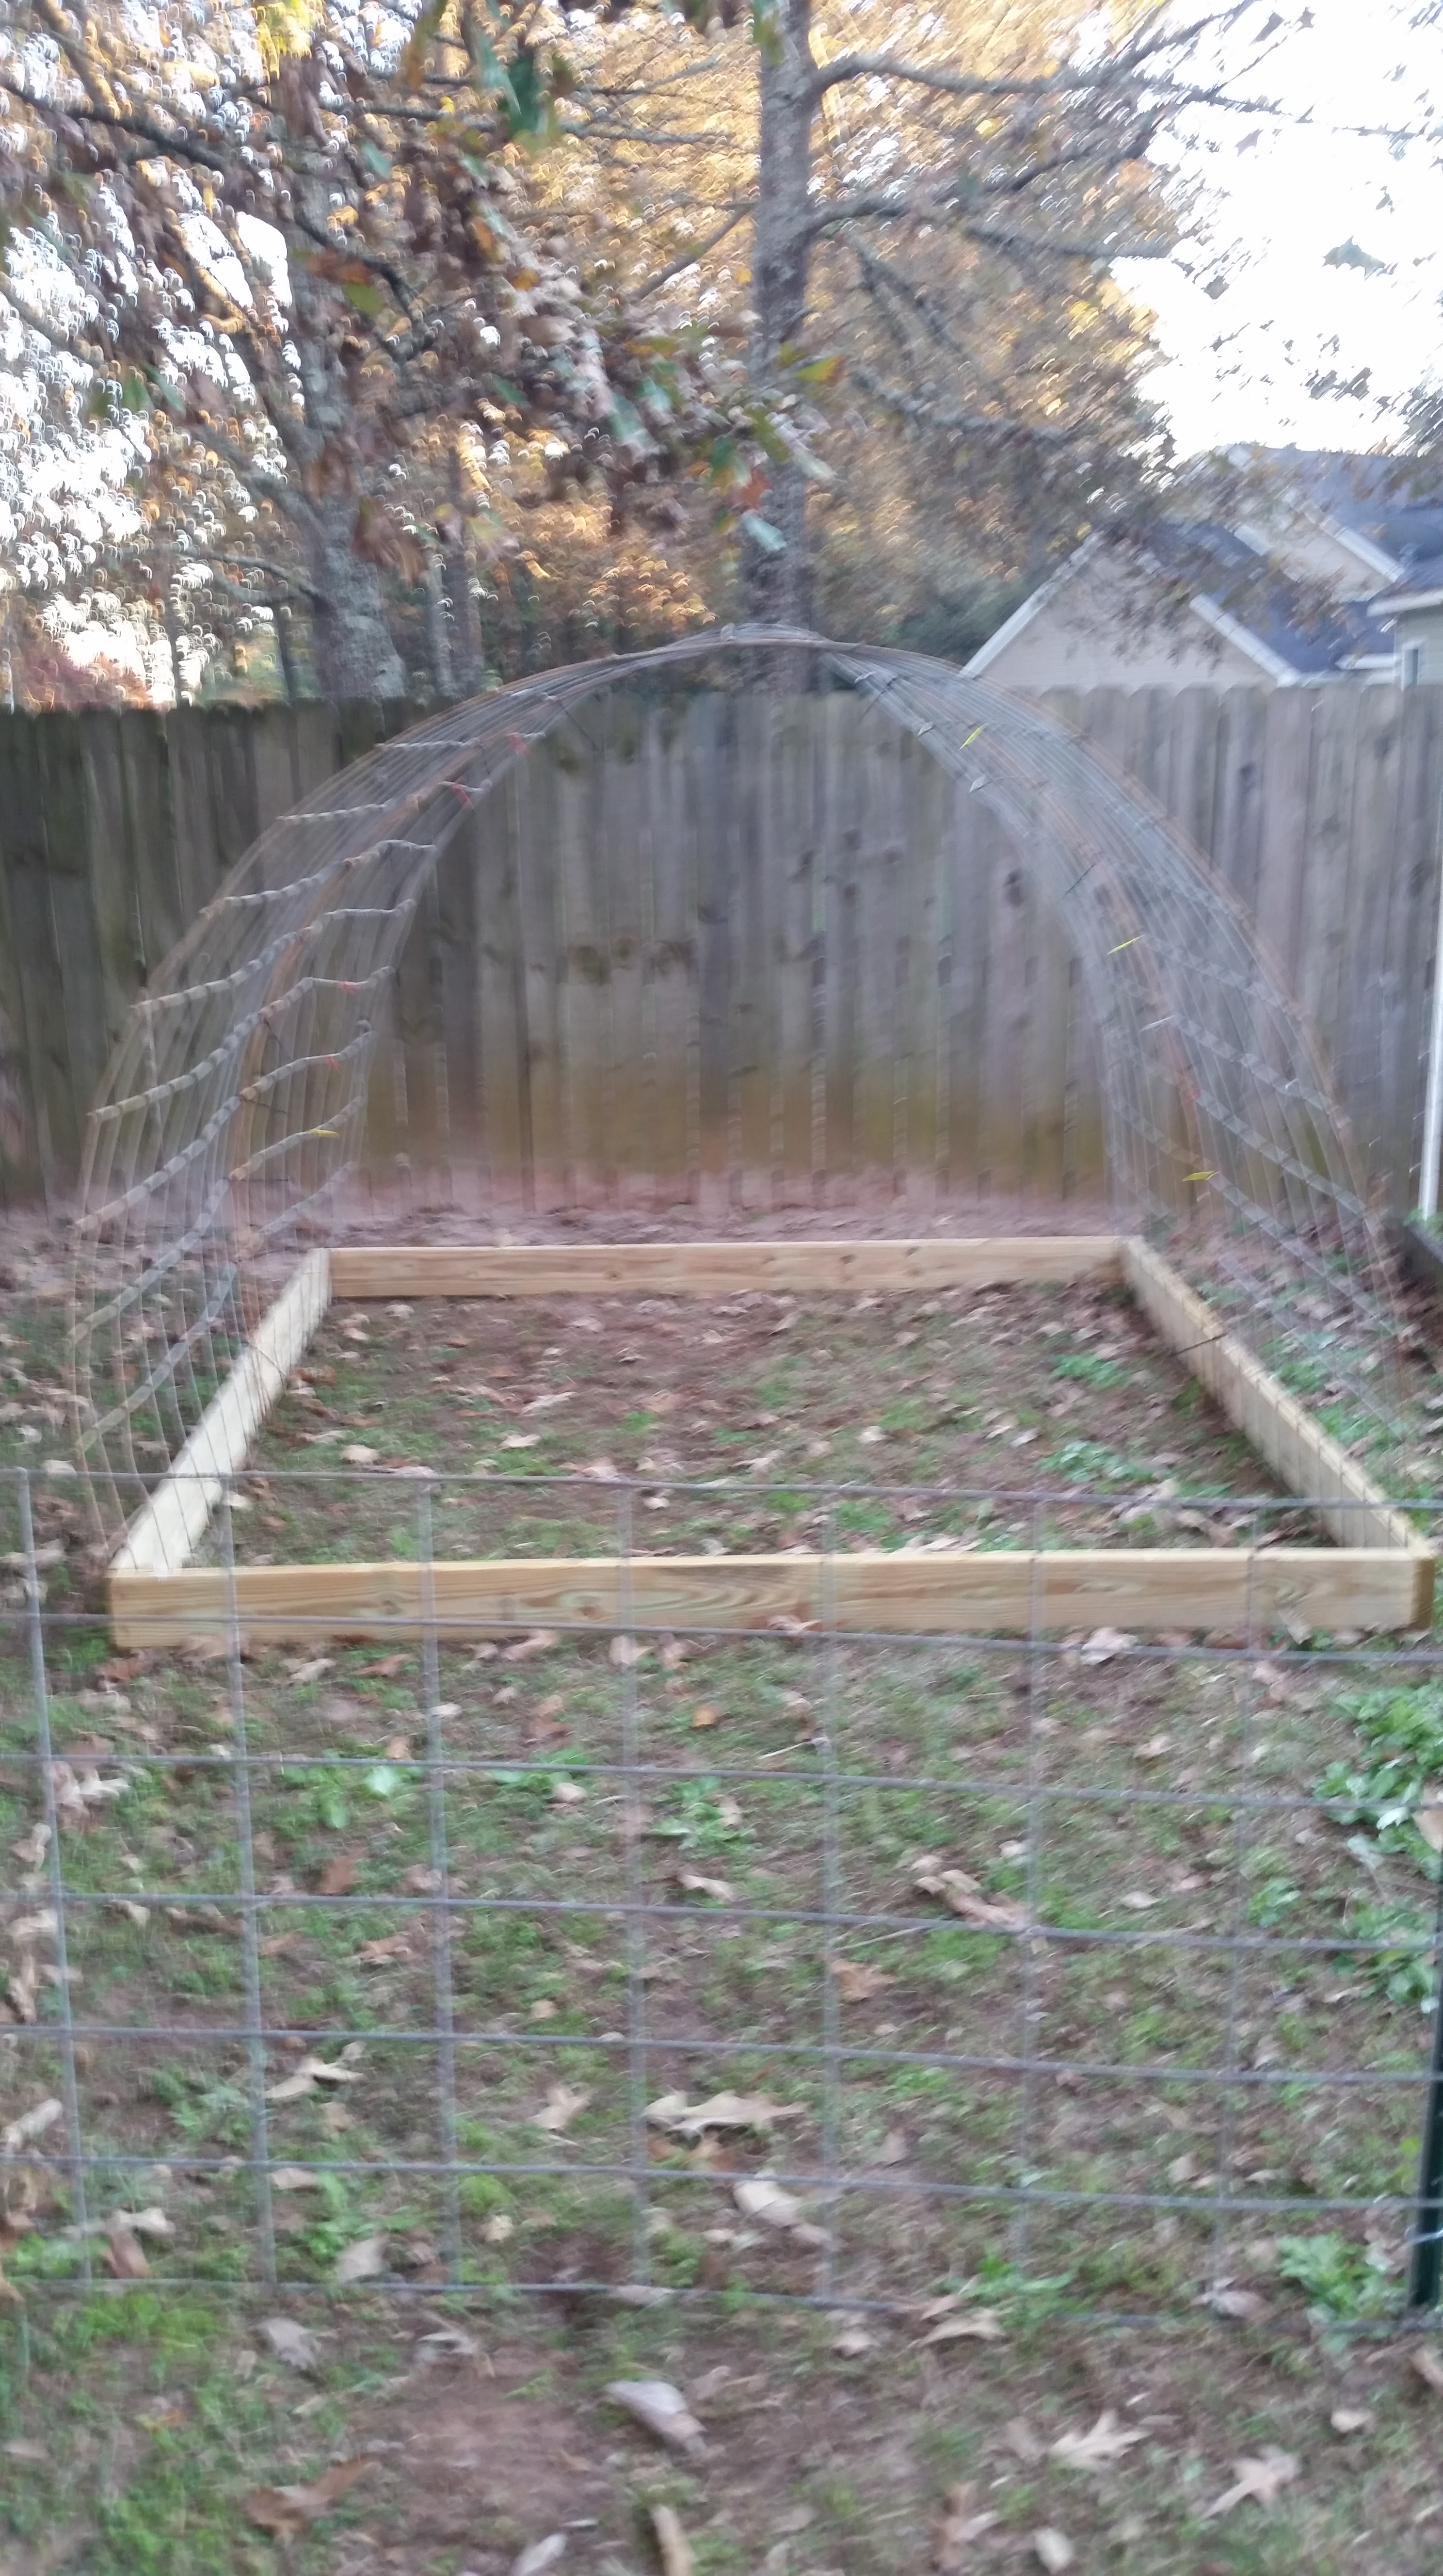
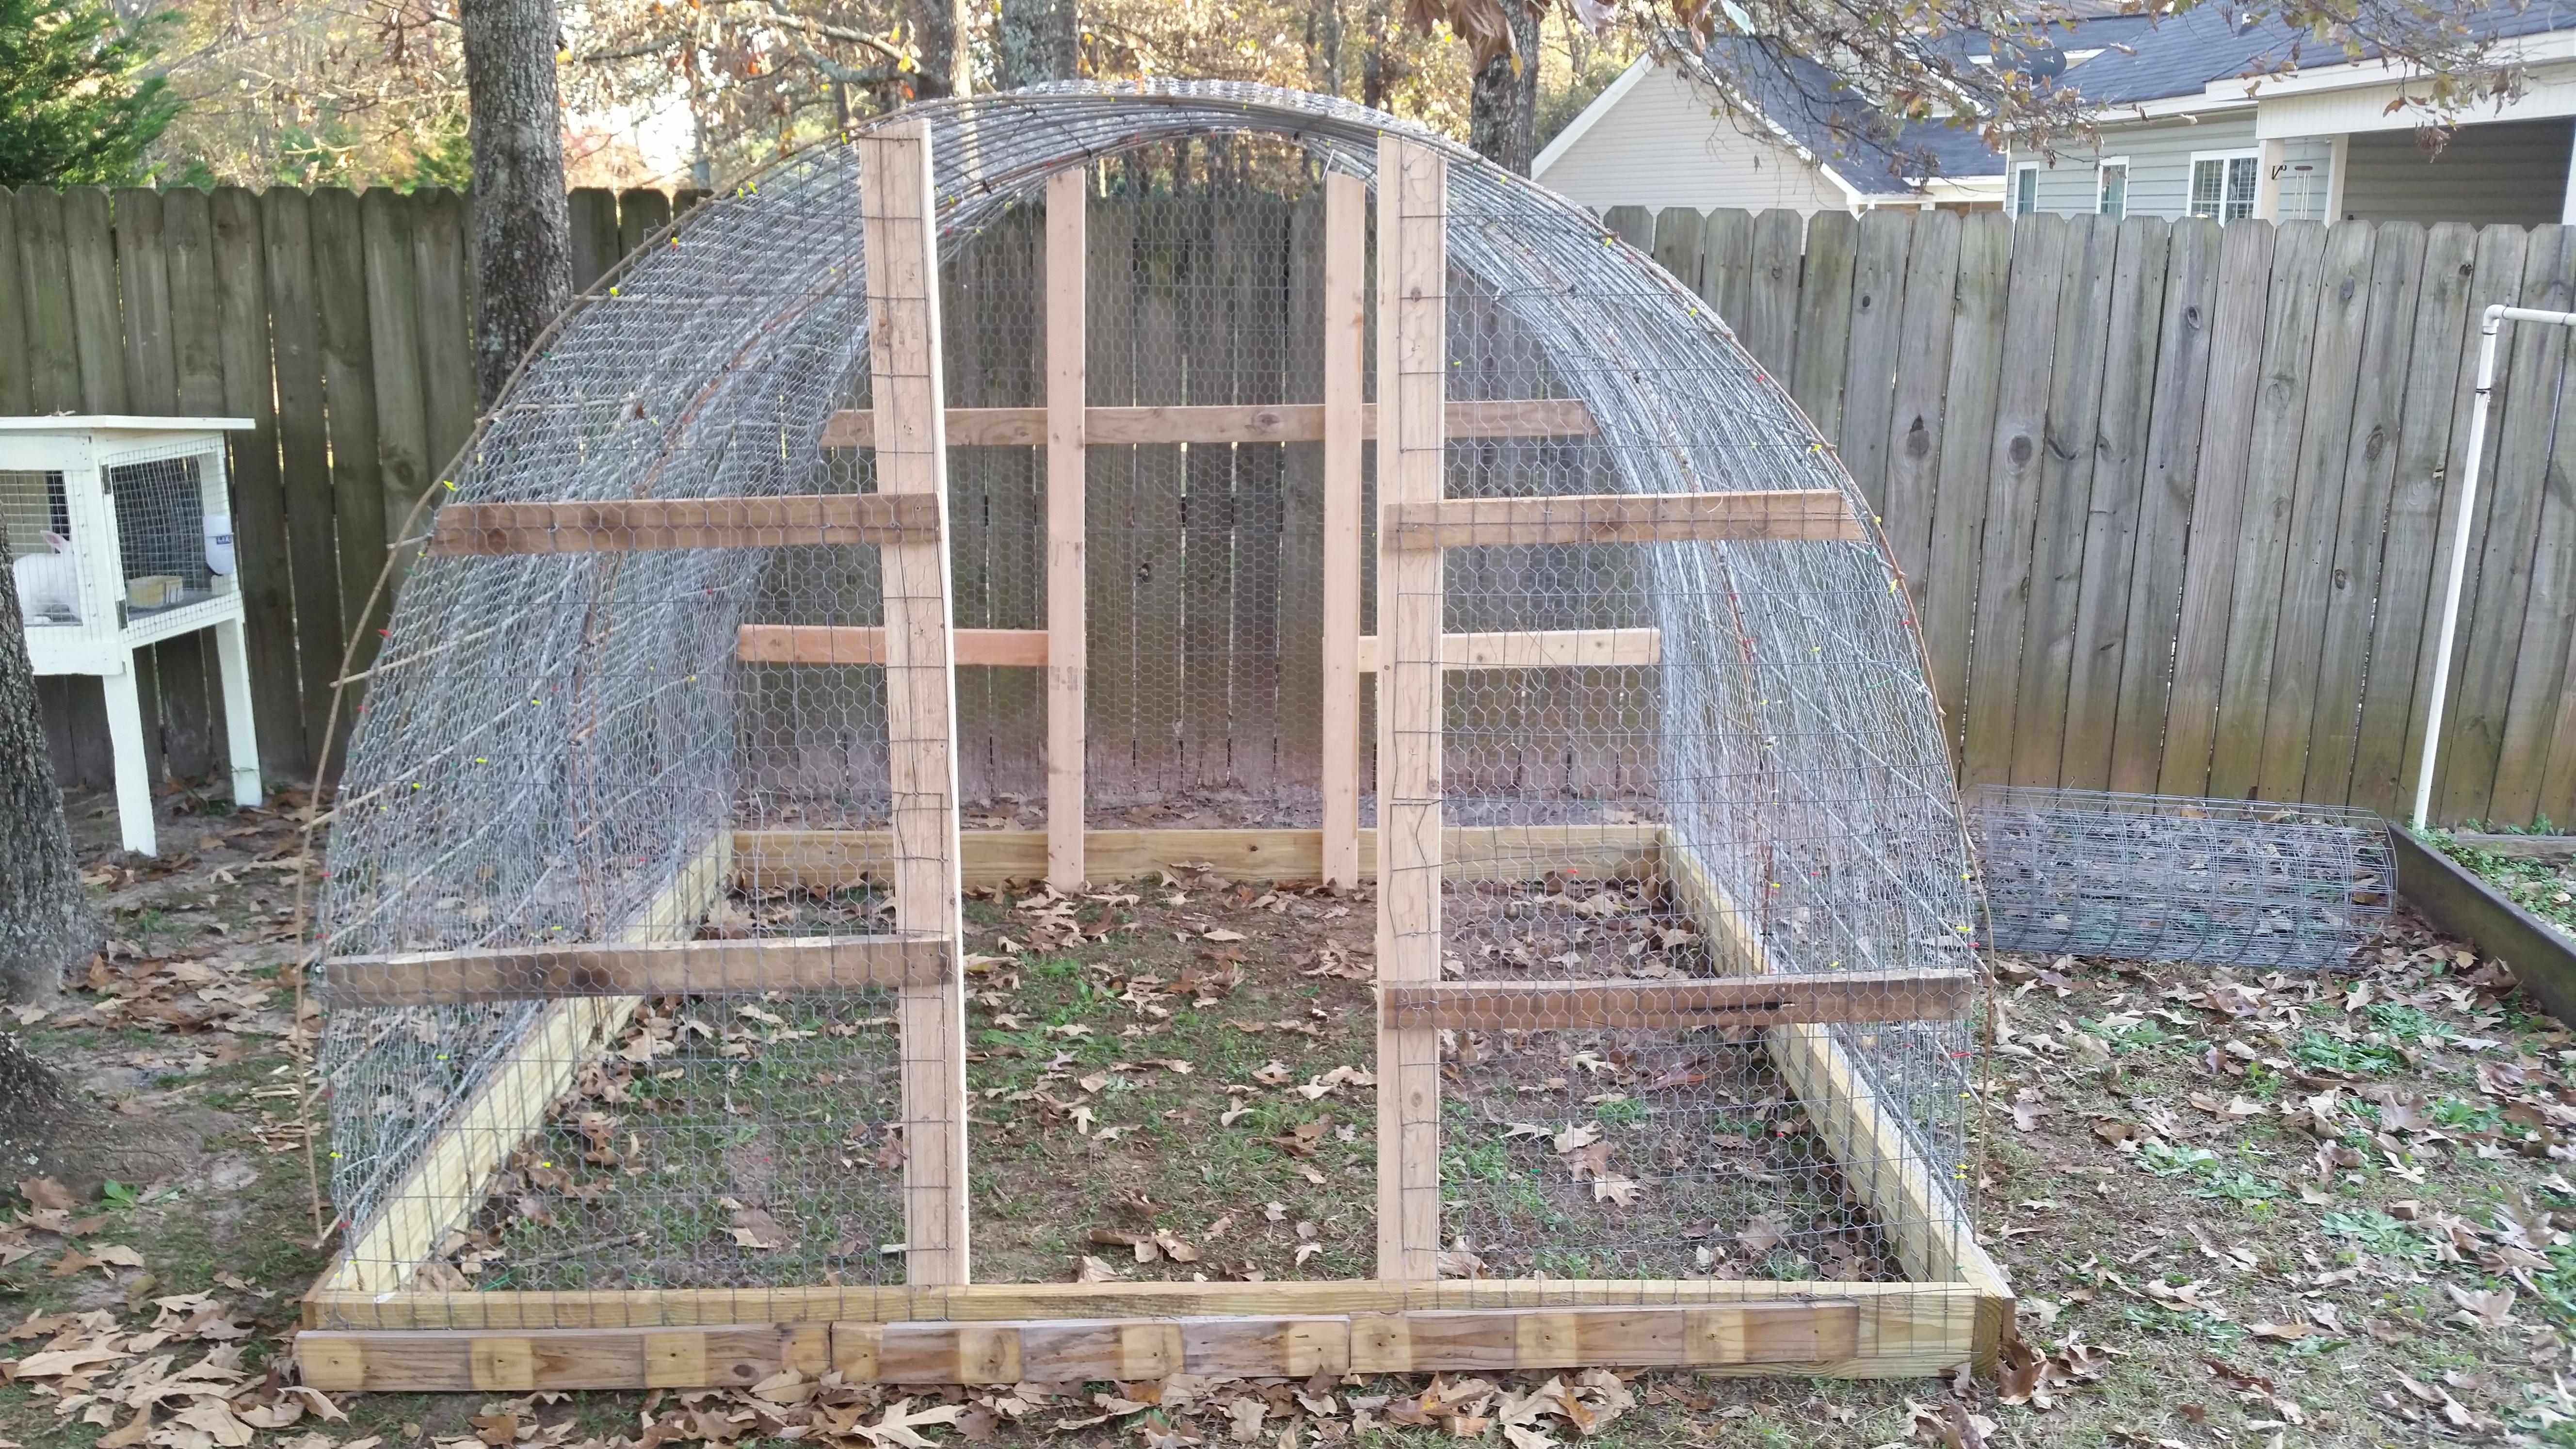
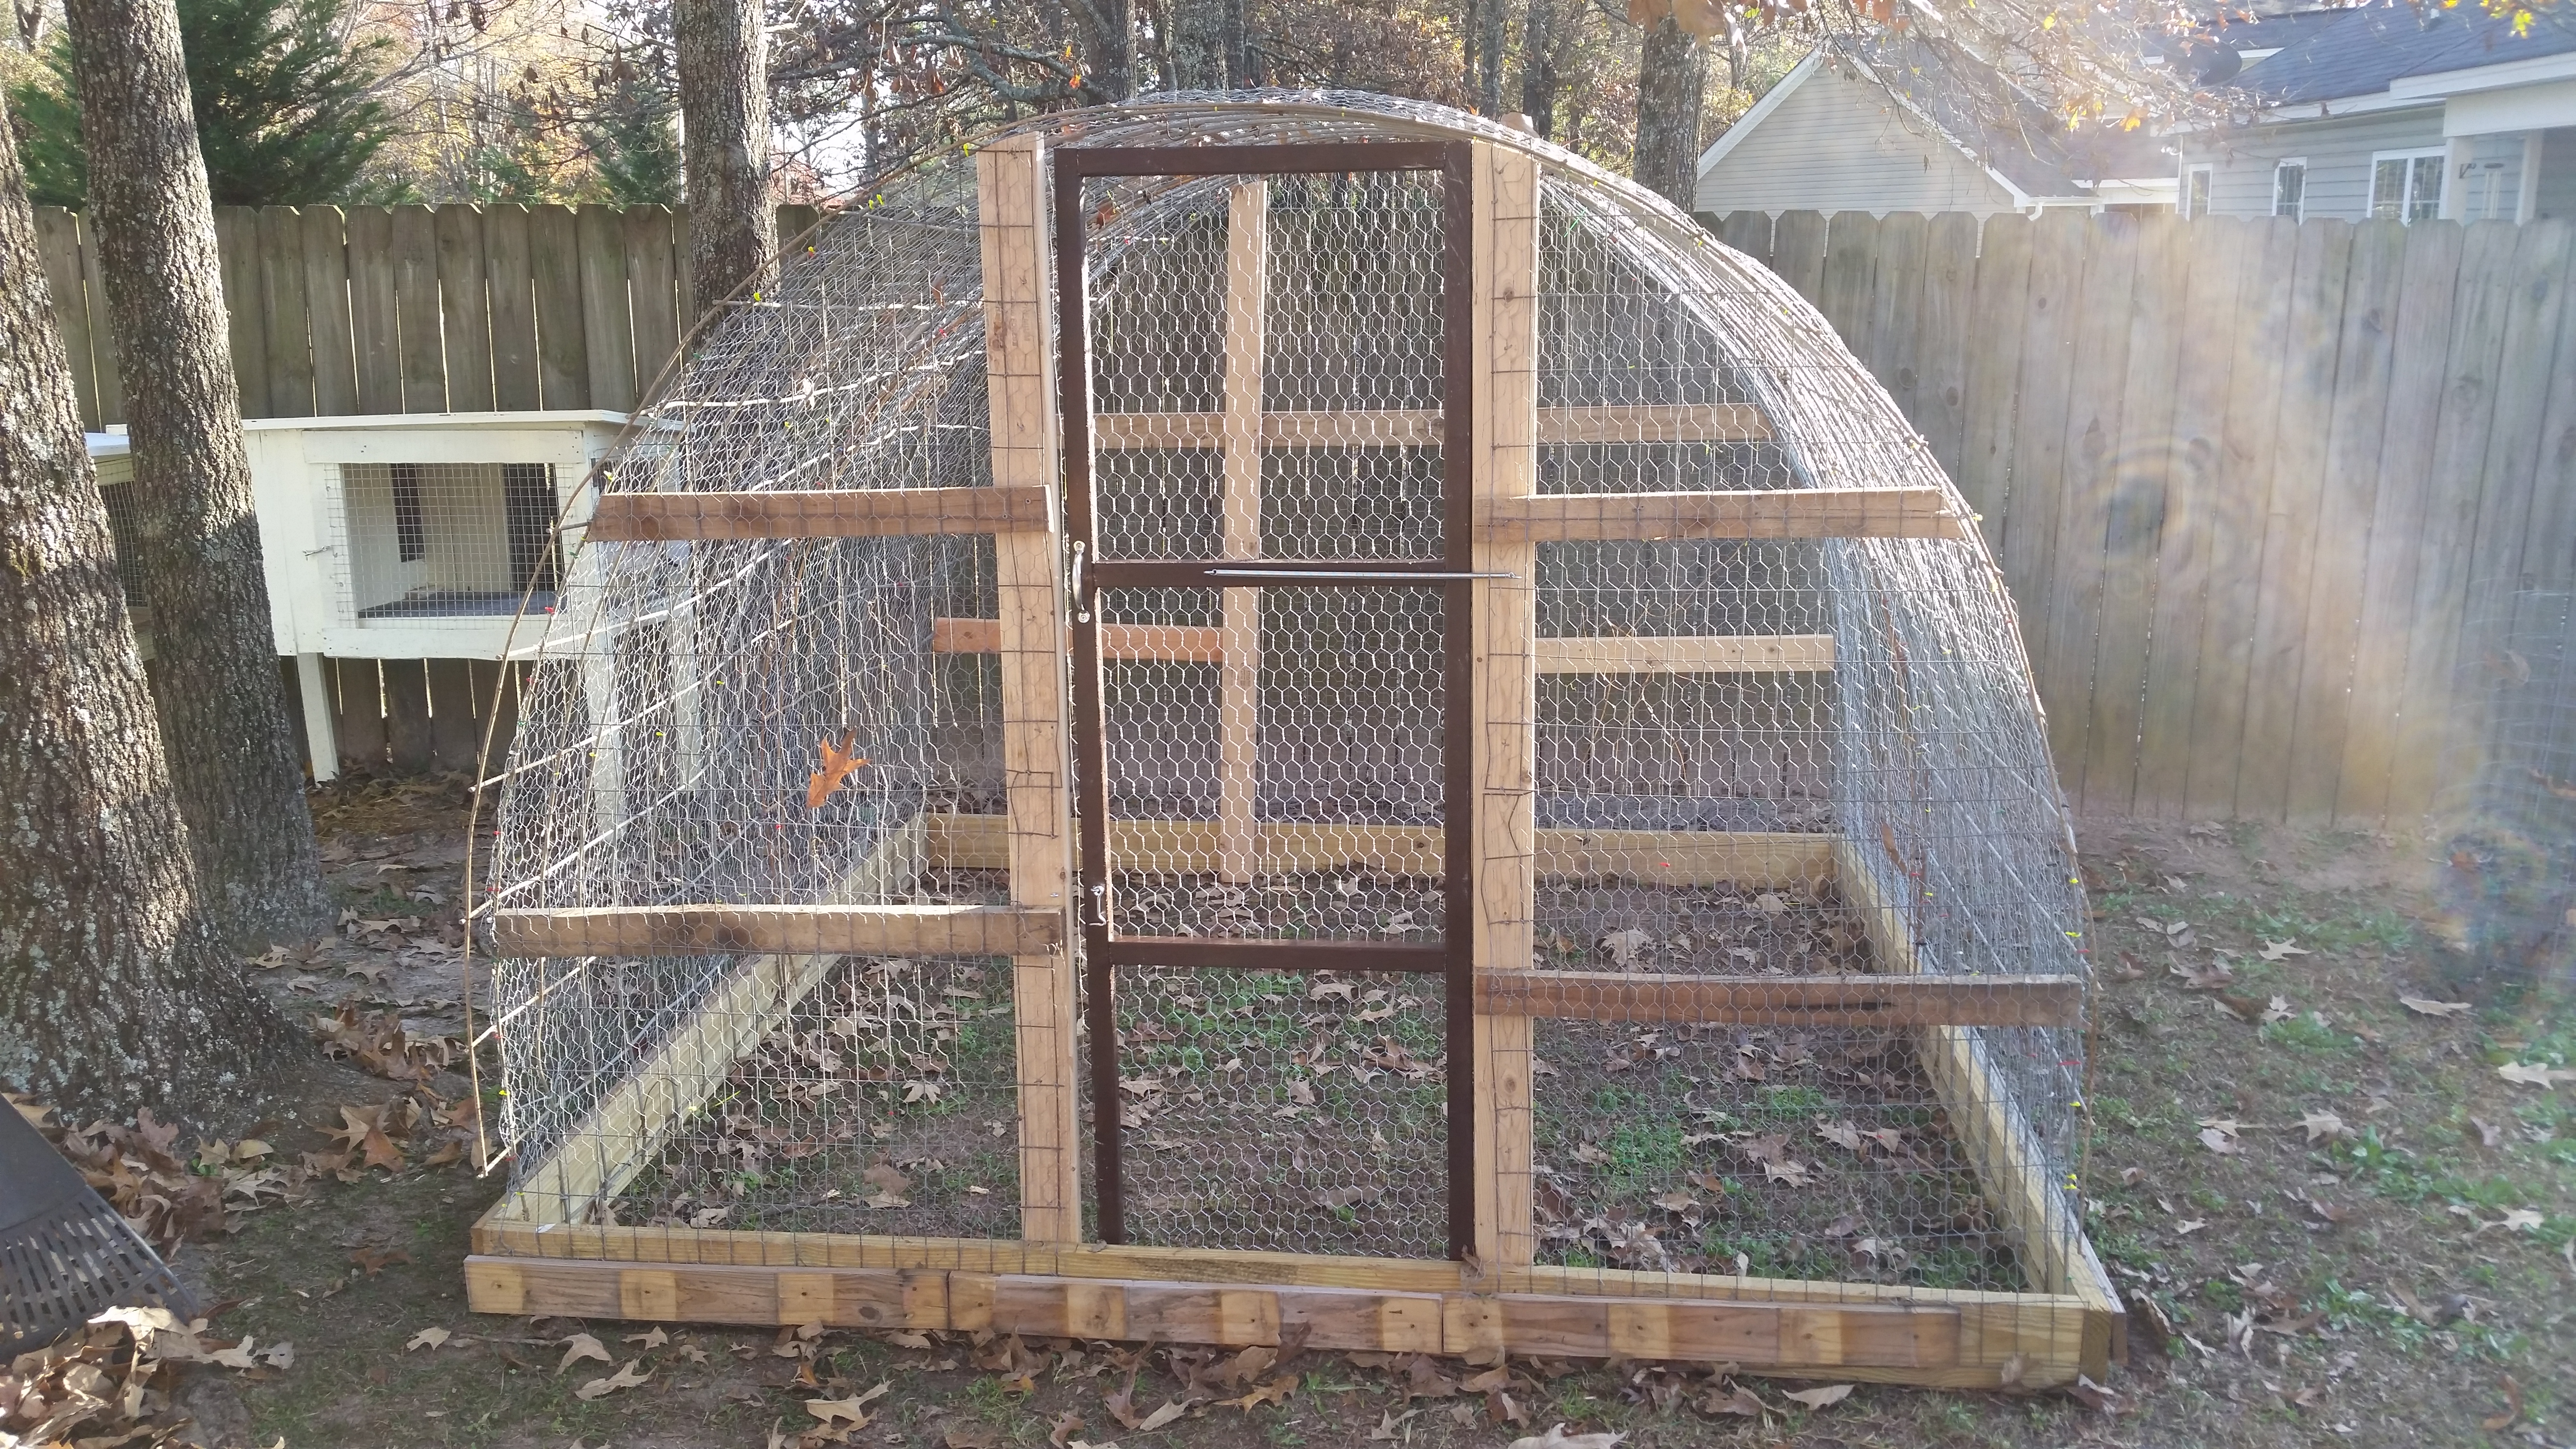
Throughout the winter I’m going to work on different projects to turn our little subdivision backyard from a barren rectangle of worn out grass into a self-sufficient, small-scale homestead. My first project was building some rabbit hutches for the mini rex rabbits we plan on getting in the near future. I searched craigslist for a while and couldn’t really find any suitable rabbit cages and I didn’t want to break down and buy wire to build all brand new ones since saving money is one of our main areas of focus lately. So, with frugality in mind, I contacted the builder in charge of the new construction in the back of our subdivision and asked about a big stack of pallets that was next to one of the new houses. He was more than happy to give them away so I went and loaded up about 10 4’ x 4’ wooden pallets and brought them home.
I’ve used pallet wood for a few projects in the past and always struggled when it came to separating the top boards from the bottom skids. I’ve tried hacksaws, pry bars, and hammers with lots of cuts and scrapes but very little success. For this project I bought a Porter Cable reciprocating saw with a “bi-metal” blade from Lowes.
The reciprocating saw was absolutely vital to the success of building these cages. There is no way I would have suffered through using a hacksaw or pry bar on this many pallets. To separate the boards I simply cut through the nails that were holding the top boards to the skids. Each pallet took about 3 or 4 minutes to completely break down. The pallets were all 4’x4’ which made planning the cage dimensions pretty easy, I ended up making them 2’ wide by 4’ long with a 16” box on the end and the roof is hinged on the back to make it easy to catch the rabbits whether they are in the cage part or the house part.
In addition to using the pallet boards I had to buy plywood for the cage roof, paint, caulk for the gaps in the wood, hinges, screws, two different types of wire (1/2” x 1” mesh for the floors and 1”x 1” mesh for the sides) and a lock for the door. I’ve got approximately $50 in each hutch. It would be a little less without paint but I wanted to try and protect them from the elements as best I could.
As of now, I’ve only finished two of the hutches but I have plans to build one more, to house two does and one buck. My next project is to build a fence across the backyard that separates the garden and animal area from the rest of the yard. I placed the hutches are under a couple of oak trees and next to the shed so they do have something of a wind break and plenty of shade in the summertime and I’m confident that the rabbits will be protected from the wind and rain very well and will be comfortable even on the coldest, windiest days.